MVC Blog: Deploy to Azure / Git Actions / Pipelines
Time to deploy the first version of this blog! My goal is to host this on my Azure tenant, utilizing Git Actions / pipelines, Azure App Service and Azure SQL Server.
1. Create app service and database
Here are my choices for this app service:
- App Name: gwestblog
- Region: North Central US
- Runtime stack: .NET 8 (LTS)
- Hosting plan: Basic, the least expensive, can be scaled later
- Resource group: rg-blog
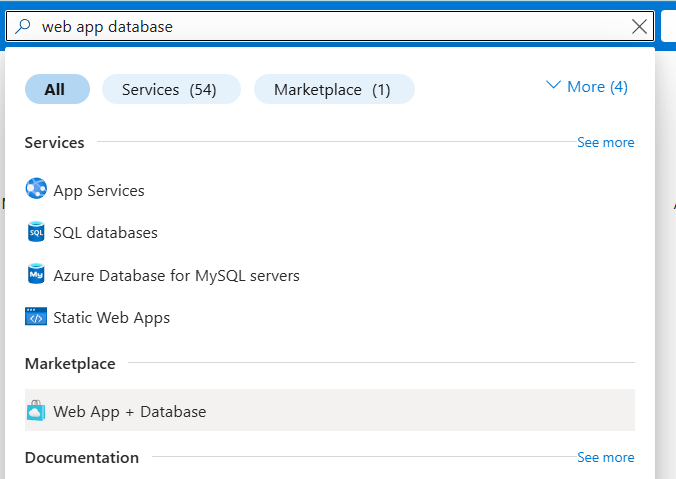
I went to portal.azure.com and typed in "web app database", then selected Web App + Database:
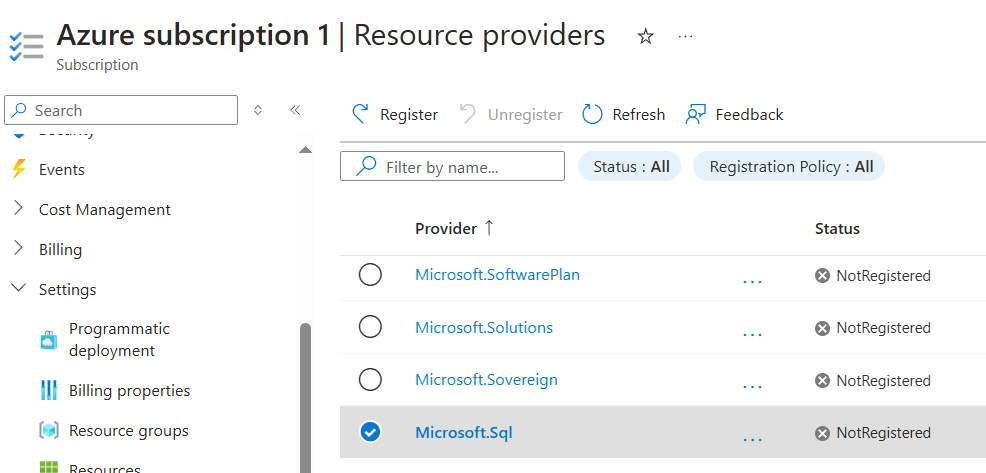
I received the message Azure SQL was not available for my subscription/location, I had to go to Subscriptions >> Resource Providers, and register Microsoft.sql:
I accepted the defaults for the Engine, Server name, database name. I switched Hosting plan to Basic (You can always scale up later)
During review, I got this message, switched to Central USA, and was able to create:
- This region has quota of 0 instances for your subscription. Try selecting different region or SKU. (Code: SubscriptionIsOverQuotaForSku)
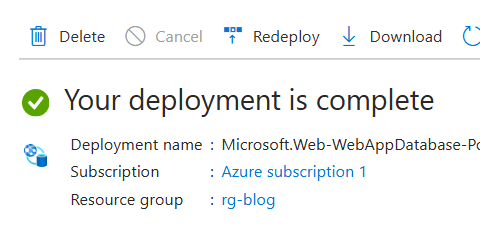
About 5 minutes later, the process was complete:
2. Important note: Adjust Azure SQL Pricing Tier!!
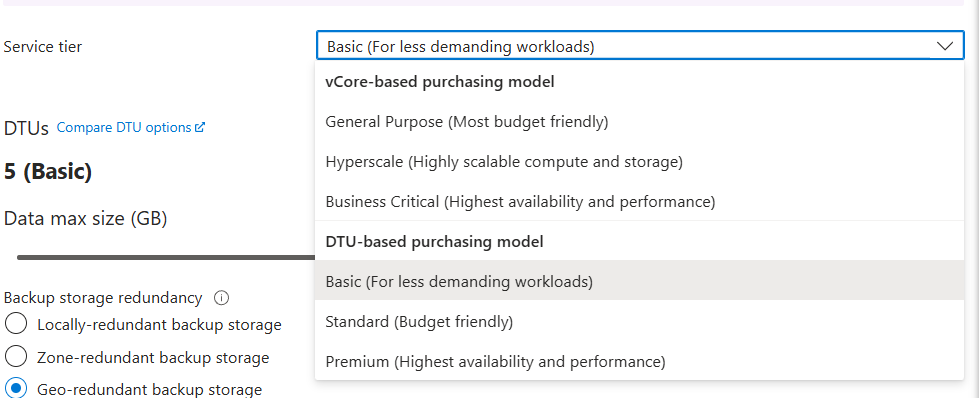
- Going with the defaults for a basic app service plus database does NOT set the Azure SQL pricing tier to Basic, but rather General Purpose! Despite it being described as the most "Most budget friendly", this can result in your blog app service running up charges of hundreds of dollars per month!
- To avoid this, go into the database server - Overview - Pricing Tier, and set to Basic, unless you know you need something more high perfomance for a production environment:
3. Deploy the gwestblog app
- In Azure, select Deployment - Deployment Center from the left-hand menu. The warning about being in a production slot refers to using different slots for Dev, QA, Production when implementing CI/CD. This is not available in our Basic plan, but something to consider moving forward.
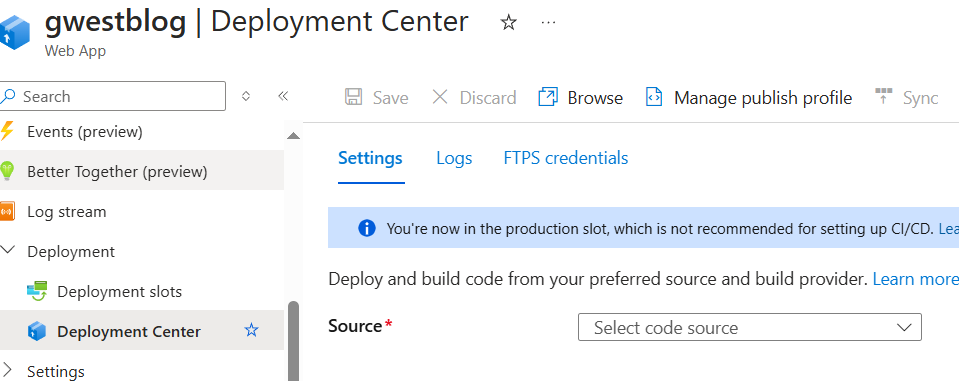
- I selected Github for the source and signed in, choosing organization, repository, branch.
- I left the default authentication settings of User-assigned Identity, my subscription, Create New.
- Then I clicked Save at the top.
- This creates a new github workflow file in .github/workflows in my repo.
4. I then pulled down that commit in my local master, changing the connection strings like so to match what's in Azure in appsettings.json and program.cs.
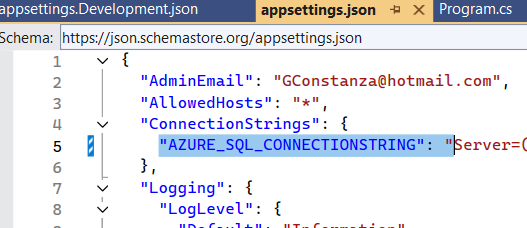

5. I added steps to the workflow in .github:
Go to the repo - Actions - mine was "Build and Deploy ASP.NET Core app to Azure Web App - gwestblog", click on the .yml file
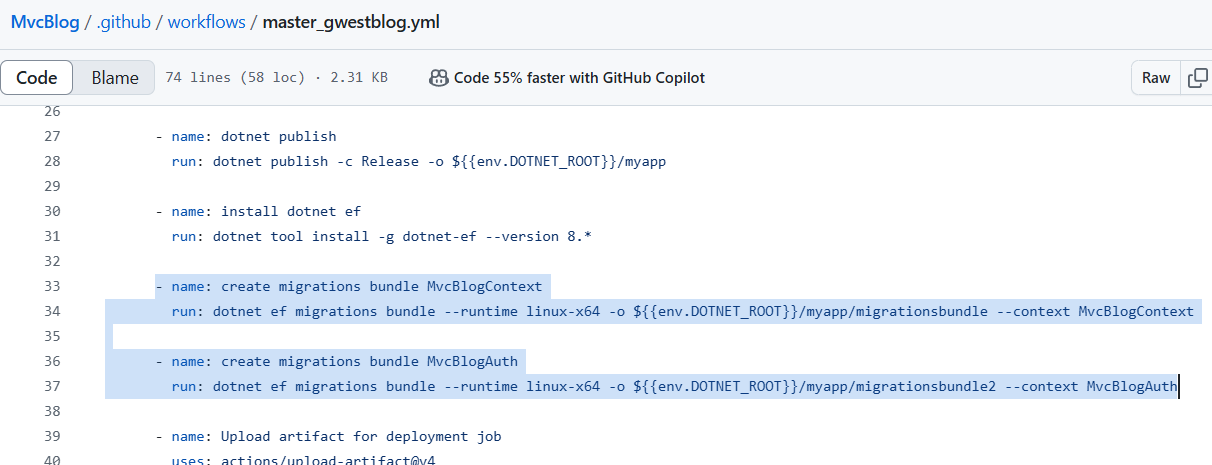
6. Generate database schema
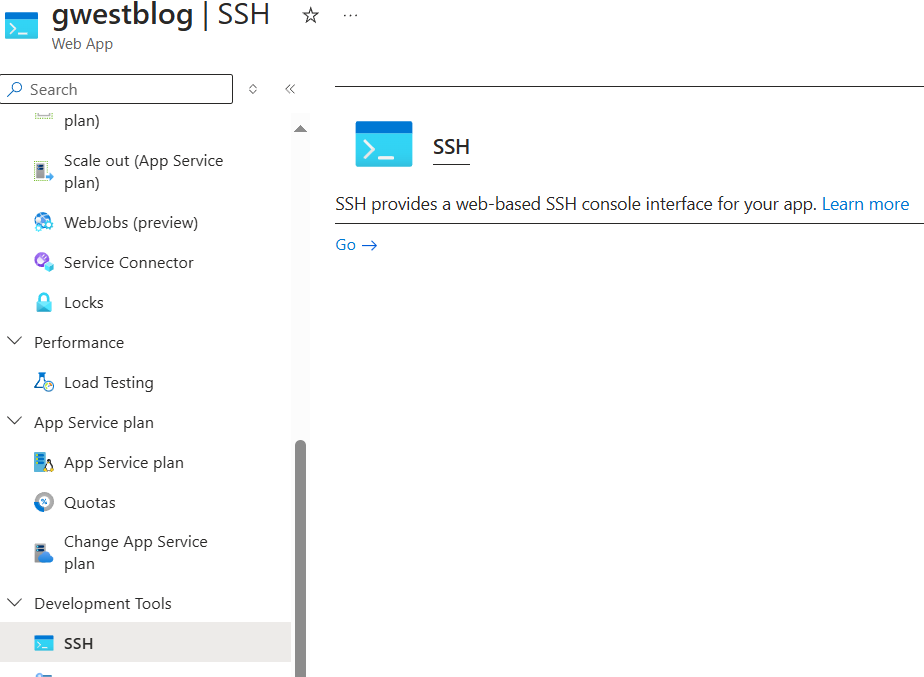
Go to App Service - [Your App] - Development Tools - SSH
Navigate to the files and run the migration bundles created by the GitHub action
- cd /home/site/wwwroot
- ls to see my files, migrationsbundle and migrationsbundle2

I ran these commands to run the migrations:
- ./migrationsbundle -- --environment Production
- ./migrationsbundle2 -- --environment Production